
From Camille: My mood board experiment
Hi all, Camille (the new intern) here!
This week I’ve decided to try my hand at making a mood board. While looking for design inspiration, I'd been seen tons of inspiration mood board. Not only did they look fun to make, I felt like they were a perfect first project for Adobe Illustrator! I’ll preface by saying, I've never made a mood board before. I decided to walk you through the step-by-step process of creating my first one! I should also mention that I am a beginner with Adobe Illustrator, so this is all a learning process for me. So...*finger’s crossed.*
My first real step was to find pictures, but before that -- a theme! Pinterest is always my go to for inspiration of any kind, especially pictures. I chose to do a summer theme (because who doesn’t have summer on the brain right now?) and I love looking at bright, colorful colors... so, that’s the theme for the day!
STEP ONE: PINTEREST BOARD. First, I made a summer mood board on Pinterest, and began to search “summer” items. I pinned about 19 images to this board (I got a little excited!)

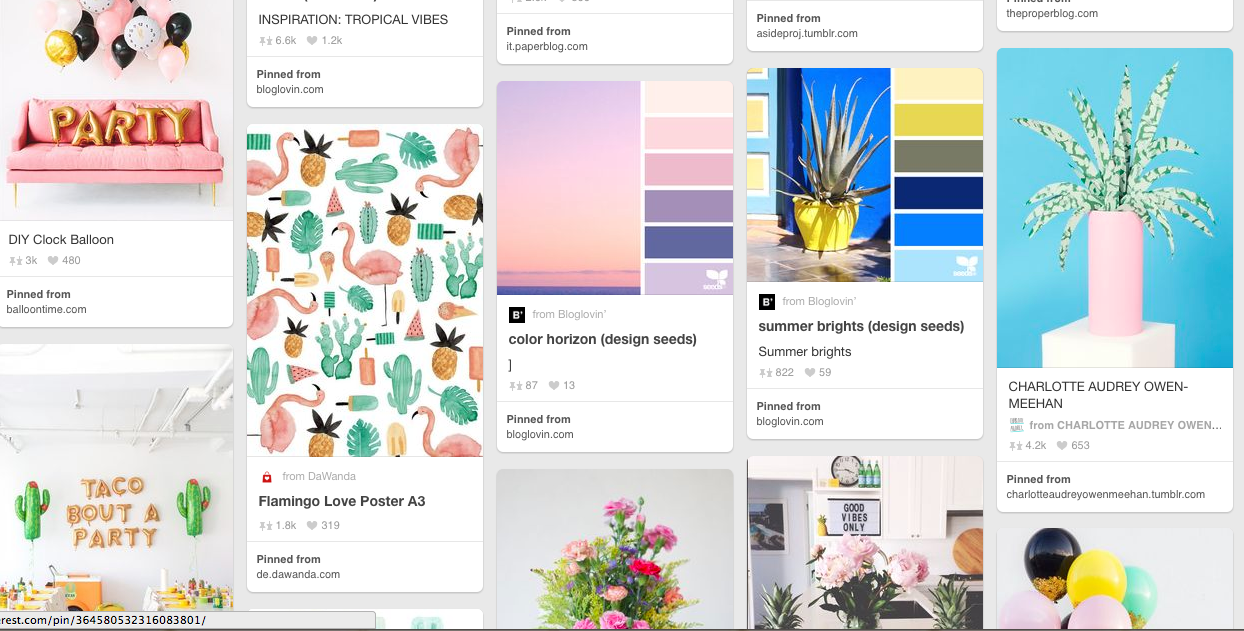

I planned to only use about 10 of the 19 images, but it’s always great to have extras. I was looking for images that not only had a common theme, but that had similar colors so that they would mesh well together for the final mood board.
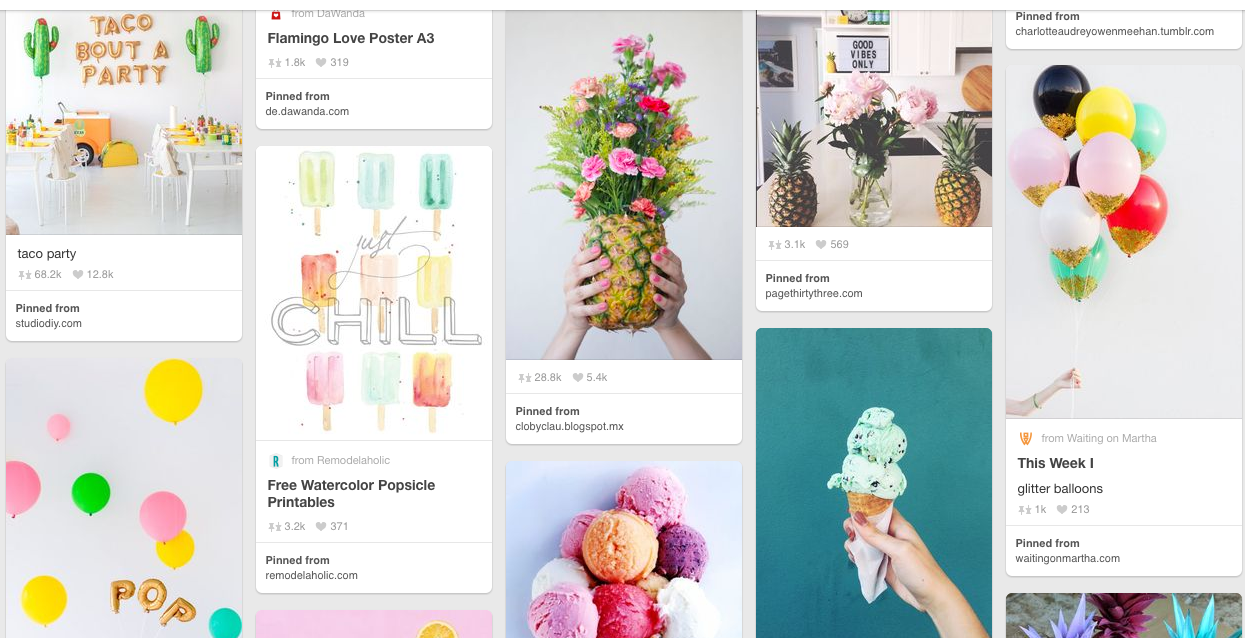
STEP TWO: CHOOSING IMAGES. I chose about 10 images that I thought was the most “summer inspired” images
STEP THREE: MOOD BOARD TEMPLATE. I found a few mood board templates to use here here and here. If you’re ever in need of a template these are great to use! I used one of these template to get started on my board.
STEP FOUR: PLACE IMAGES. ‘File’ → ‘Place’ → Locate images.

STEP FIVE: IMPORT TEMPLATE. Repeat the same steps above to import your template! (This one was perfect for me because it even came with instructions!)


Step Seven
STEP SIX: LAYOUT PHOTOS. Next, I spent some time playing around with the position of the images.
STEP SEVEN: CLIPPING MASK. Once I had the images all lined up with my template I clipped them to fit the space. Just draw a box over the image → select the image and box → ‘Object’ → ‘Clipping Mask’ → ‘Make’. This will crop the image to fit in the box you just made.
STEP EIGHT: REPEAT. I continued to do this with all of the images, and felt like I was starting to get the hang of it! At this point, it was looking better than I had thought it might… and so far it was even easier than I expected.
Borders!
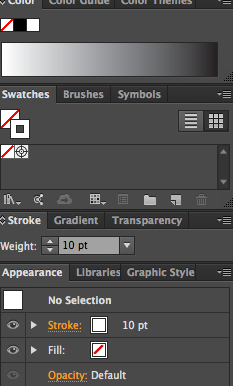
STEP NINE: BORDERS. I could see the finish line at this point! Now that all the pictures were imported I wanted to put white borders around each picture. Not going to lie, I had to Google how to do this. It turned out to be pretty simple -- just not very intuitive to a first time user. For my first attempt, I added a border around each of my images, but this ended up making the lines uneven. Some of them were overlapping, or uneven.
So, I pulled all the borders off and drew regular lines in the pattern of mood board. This made a much more even end result!
STEP TEN: VOILA! Finished product. My first ever mood board, complete.

Sources: One | Two | Three | Four | Five | Six | Seven
The best part of this process was definitely pinning the pictures and watching the whole thing come together. Who knew a bunch of random pictures I pinned on Pinterest could form into something so cohesive? Something that could actually inspire a project? A lot of googling was involved, but I know I’ll remember what I’ve learned and be able to build off of it for next time.
Thanks for following along, until next time,
